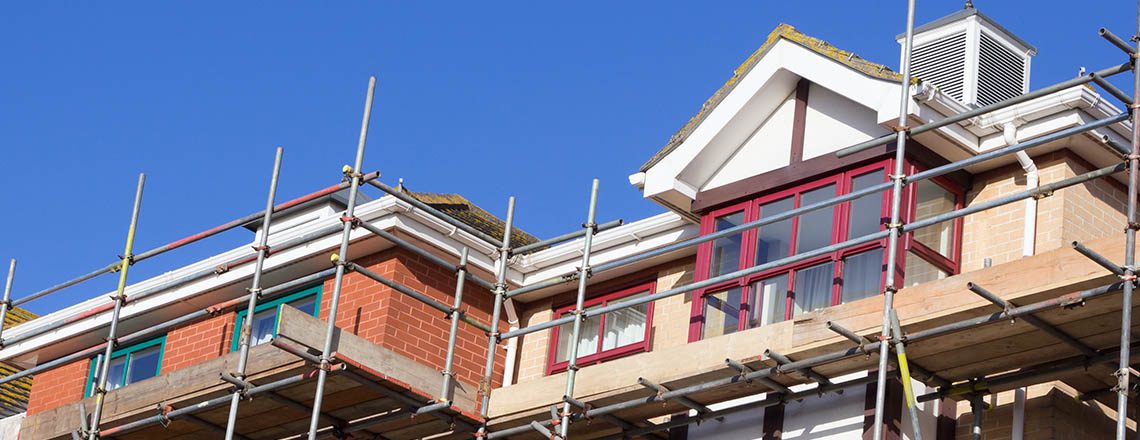
As a leading commercial roofing company in the Cincinnati and Dayton area, Roofing Annex is well aware of the stresses felt by property owners and managers when it comes to multi-family unit roofing projects. The larger the property, the more tenants, the more overwhelming things get for those calling the shots. Our goal, from the moment we meet with prospective clients is to ease the tension by reviewing where they are at. We’ve met seasoned pros, uneasy professionals, and total novices that are no more prepared for the unexpected than the other – just as we’ve seen light planning and budgeting from all types. Hence, we’ve put together the following guide to multi-family unit roofing projects.
Much of this is a no-brainer and redundant for most but it bears repeating!
Step 1) Identify and Set Priorities
Residential complexes are always going to be complicated whether you’re looking for roof maintenance, roof installation, painting, siding replacement, or gutter cleaning. Assuming you’ve found a trusted building contractor with expertise in multi-family housing to tackle your needs, it’s time to pinpoint necessities. Ask your contractor to do an in-depth exam of the entire property to evaluate all possible issues. Once the issues for correction have been identified you’ll need to look at your budget alongside your contractor’s estimate and begin prioritizing. At Roofing Annex, we know that this can be difficult so our estimates include our two cents on prioritization. For example, we set critical leak areas like pipe flashings and missing sealants high and a change in gutter colors low. We advise you to ask this of any contractor you work with.
Step 2) Double Check your Plan with Tenants
The biggest mistake we’ve seen while conducting maintenance on multi-family units in Cincinnati is a lack of tenant input on the priority list. They may not understand the severity and need for certain items in your plan because others affect them more. Anger and resentment from residents can flare up if they see gutters replaced but wanted to see old deteriorating skylights replaced. Some communities will have suggestions coming in anyhow but it’s wise to ask around and get a consensus of pecking order to build a compromise. Be sure to consult with your contractor once the plan is altered to see if the plan fits their concerns.
Step 3) Review the Maintenance Estimate
Most commercial property management companies we’ve worked with tend to get multiple estimates when the project is larger while smaller issues are left to the maintenance company. Should you be reviewing multiple estimates be sure to evaluate them as apples to apples on the materials as some contractors will save a buck by using crummy products. We also advise using the company that can provide the best warranty on your products and their workmanship.
Need an Estimate?
Contact us Today! 513.985.9092
Step 4) Communicating the Project to the Residents
Posting clear signage and distributing letters or flyers with the project dates and schedule is imperative. We’ve never seen this not done but tenants will see those notices weeks in advance usually and forget. Thus, we suggest having one last round of flyers go out the day before with further details on the plan of action. Your contractor should be able to handle the rest. With a roof replacement project, for example, the crew will arrive early and cone off areas to avoid (sometimes the evening before). Caution tape and other notices will be posted to direct residents to safe parking, safe walking paths, and off limit areas.
Step 5) Ongoing Communication during Multi-Family Unit Roofing Projects
Property managers should be available during larger projects such as tear-offs and installs of roofing or siding. Larger complexes with several dozen or more units need ongoing clarity between residents, the management company, and the contractor’s onsite team leaders. Appointing someone from your end to represent the management company or an owner to stay on the premises or someone that can always be reached is the best way to clear unexpected hurdles. You’d be surprised how often the lack of representation happens and how bad things can get without it.
Step 6) Review the Work
Having a thorough understanding of the work performed is essential. Be sure that the project manager on hand is able to walk a representative around the property to look at the repairs and replacements along with spots of concern. Be sure to take photos along the way!


